This article explains how to schedule a job to periodically automate a business process.
Lumary has several jobs that can be scheduled to automate business processes. Some of these will have been set up for you during implementation.
Before you begin...
Before adding a new scheduled job, you should check to see whether it has already been scheduled to run in your environment. If you want to change the frequency or timing of a scheduled job, you'll need to delete the existing job and create a new one.
To schedule a job:
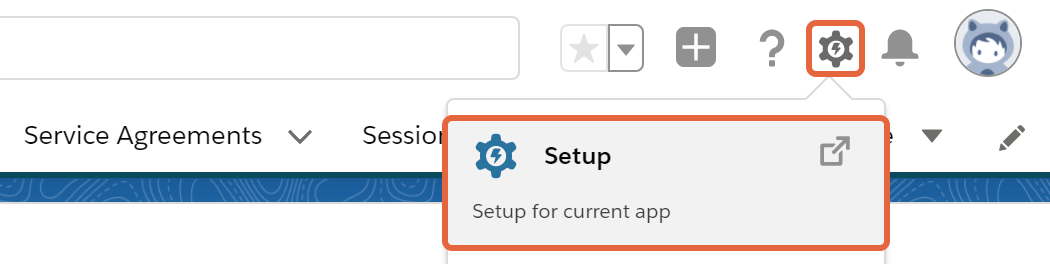
- Click on the setup cog icon and select Setup.
- Click in the Quick Find search field.
- Type apex.
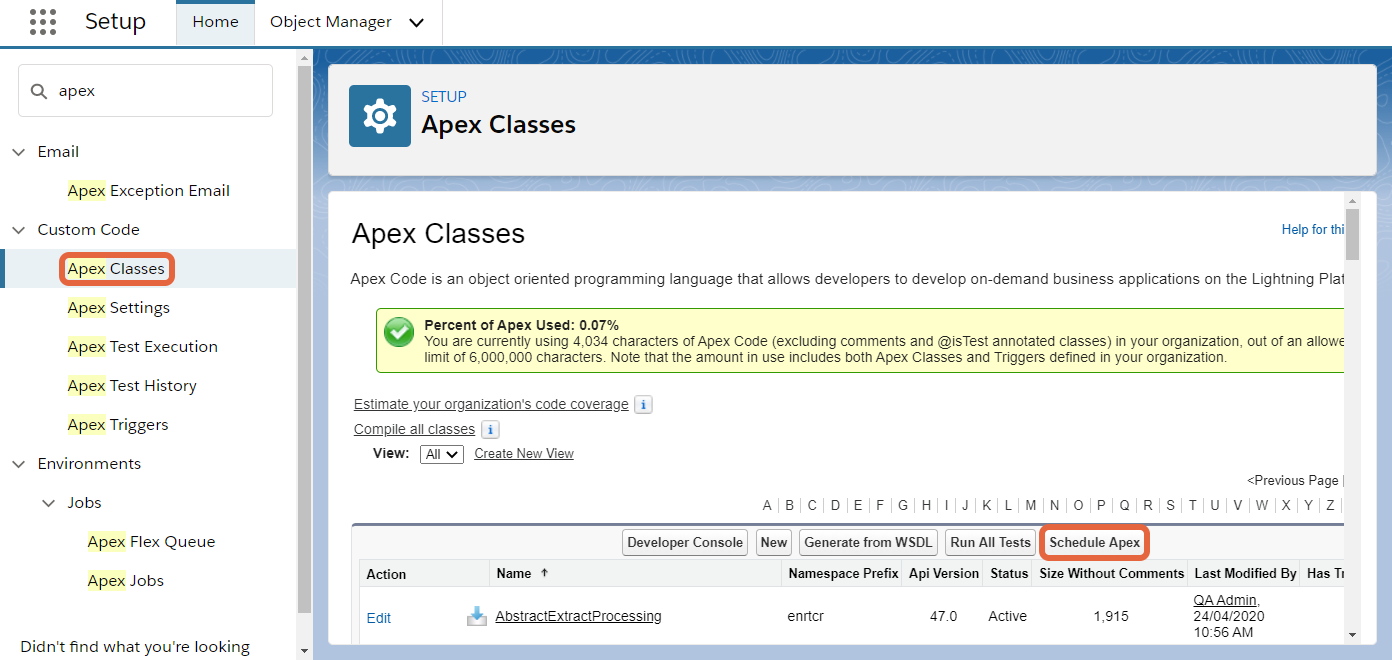
- Click on the Apex Classes text link.
- Click on the Schedule Apex button.
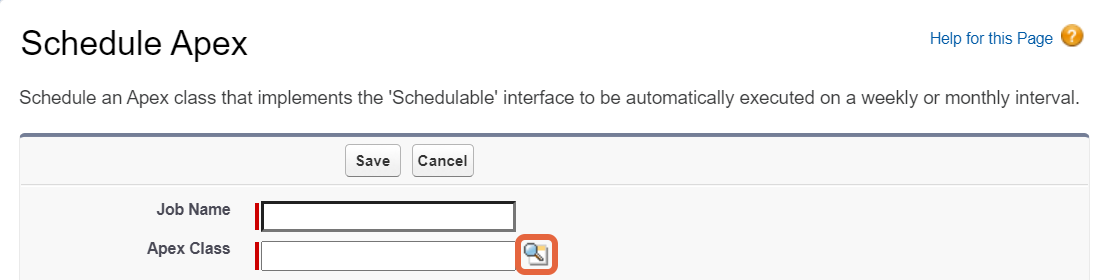
- At the end of the Apex Class field, click on the magnifying glass.
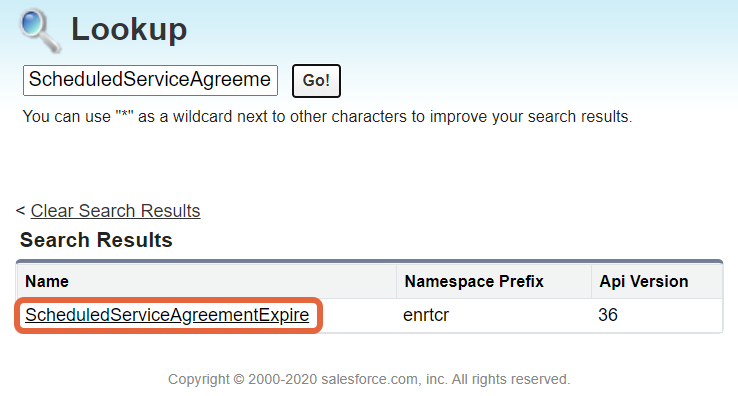
- Search for the relevant job that matches the business process you're automating. You can enter the name of the job in the search field and click on the Go! button or scroll down the list.
- Then click on the name of the job.
- Enter a name in the Job Name field that will help you to identify this process.
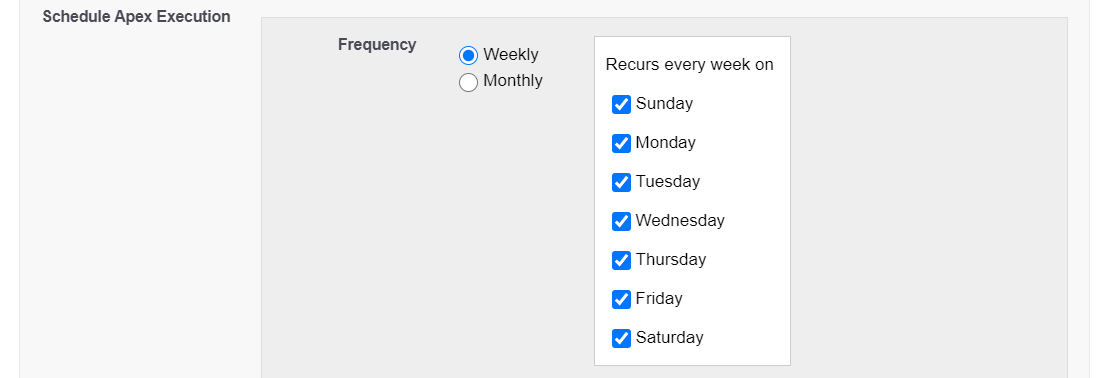
- Set the Frequency of the process. Tick the checkboxes to select the days on which the process should run. To set it to run daily, select Weekly and tick all of the boxes.
- Select a Start and End date. The default start date is the current date. The default end date is one month from the current date. We recommend setting an end date at least a year into the future.
![]()
- Set the Preferred Start Time. It's usually best to set automated processes to run overnight or at times when fewer people will be accessing your environment. The exact timing of the process will depend on your job queue activity at that time, so processes may run slightly later than the time you select.
- Click on the Save button.

Your environment can only have 100 active or scheduled jobs.
Once you've scheduled a process to run, you can use Apex Jobs to check the status of your scheduled processes.